

To use the Ladibug Visualiser
- Select PC on the control panel to share your PC screen on the projector/display.
- Log in to the local PC using your UU login details
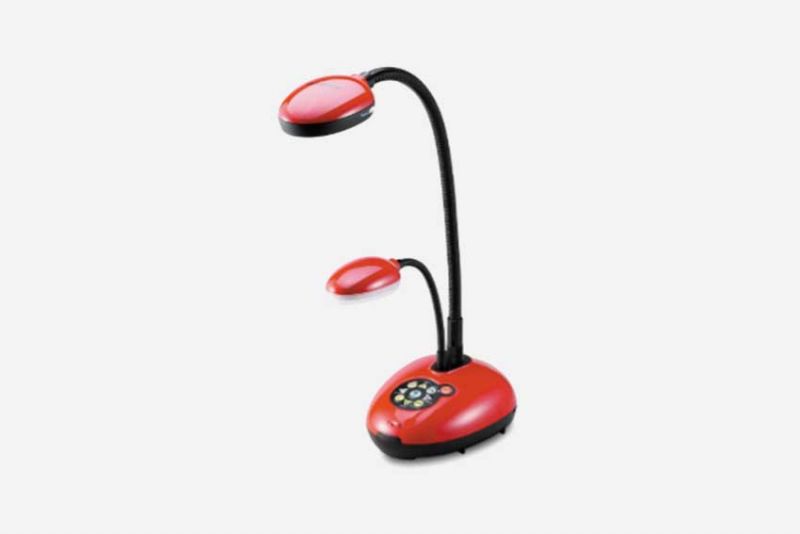
- Turn the Ladibug on. Press power button on the unit (circled in image 1)
- On The PC, double click the Ladibug 3.0 software tile, usually located on the left side of the PC desktop. (image 2)
- Maximise the Ladibug window on the PC if needed, then place the item to be displayed on the desk, under the Ladibug
- The Ladibug camera will auto-focus on the object. Zoom and focus should be done using the tiles in the APP.
- To stop using the Ladibug, close the Ladibug application on the PC, and turn off the unit by pressing the power button.
Once the software has opened, you should see the captured image which will have menu bars either side of it.
The Ladibug software has many functions which can be used by selecting one of the options within the menu bars.
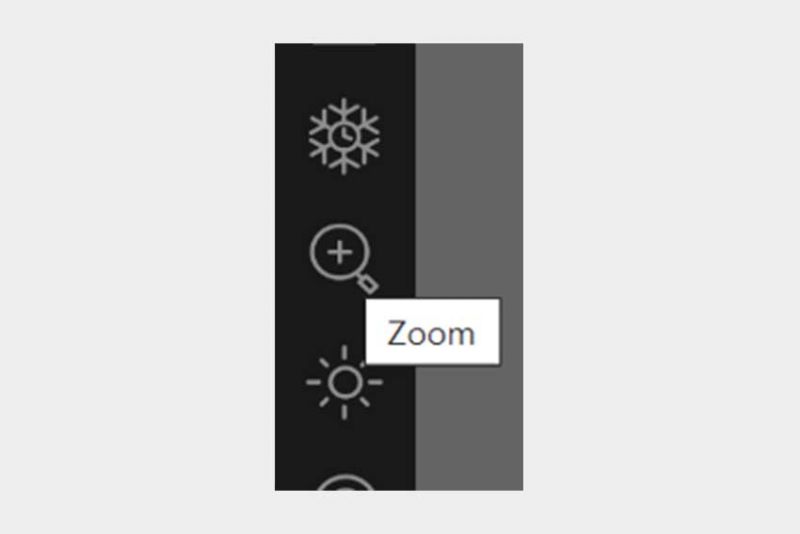
To find out what the options do, hover the mouse over the image and it will give you a description as to its function (image 3)
Images

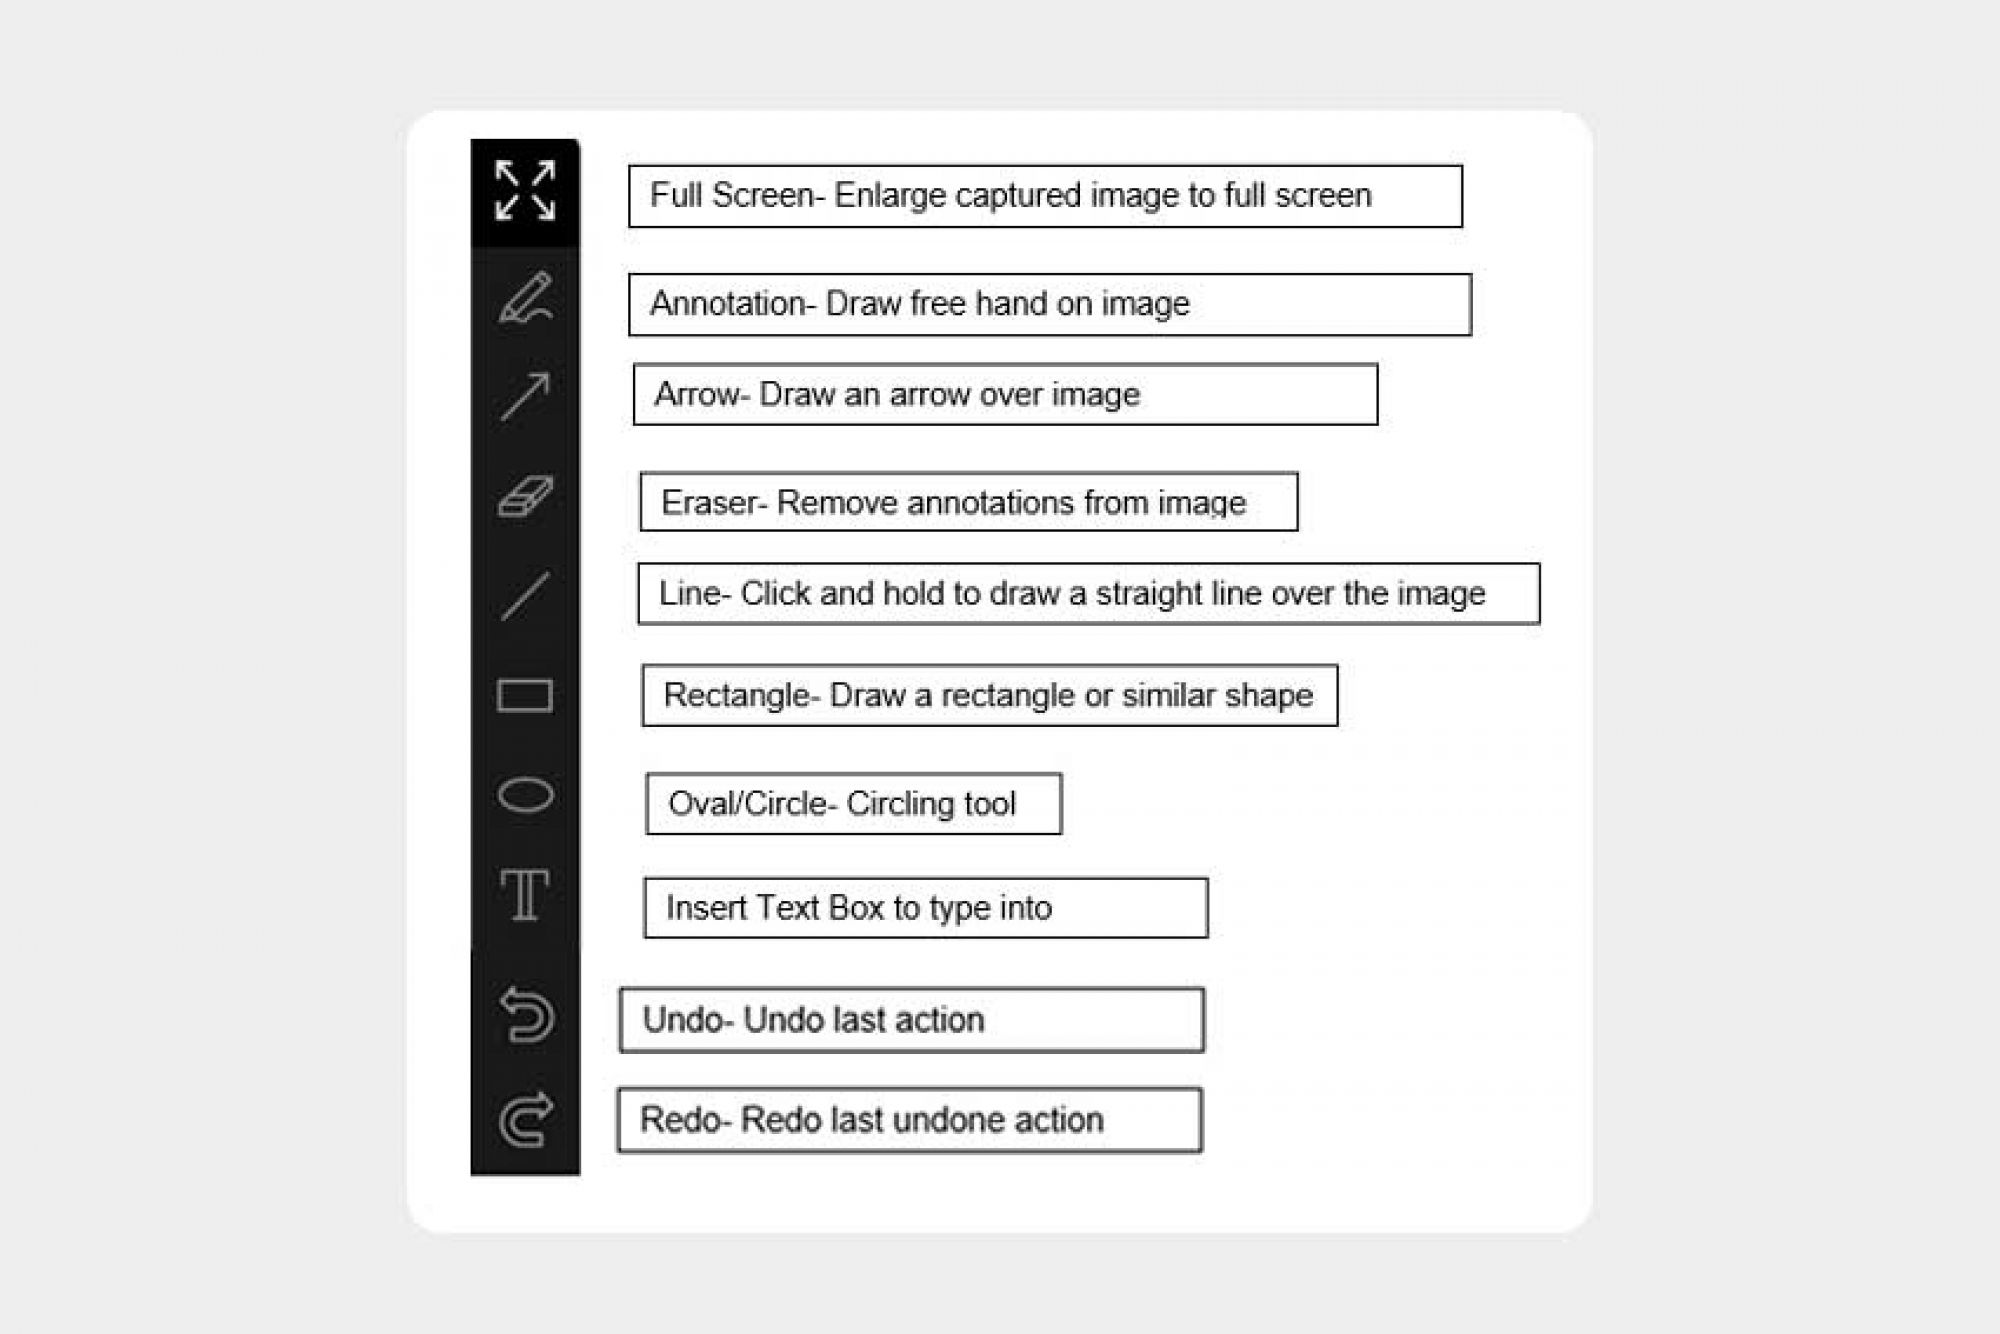
Annotation Functions on the Visualiser
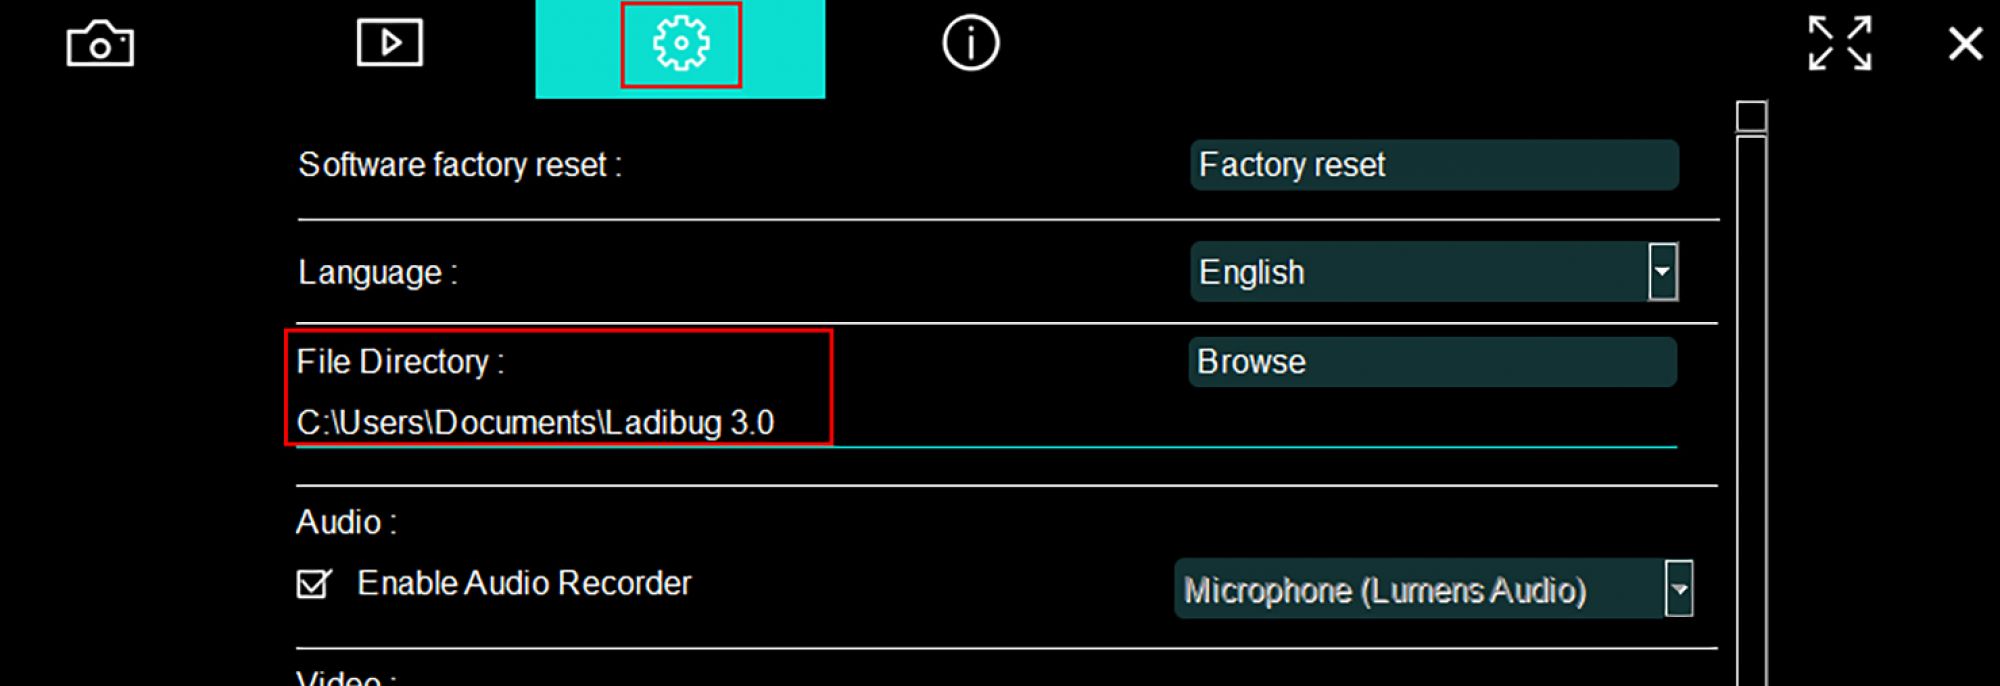
Saving Images and Videos
When Saving images and videos, please ensure you have changed the File Directory to an accessible place:
- Settings
- File Directory
File Directory Choice Screen for Ladybug Visualiser
I would like to Capture Images


I would like to Record Audio and Video
The recommended way to record is to use Panopto Recorder, which is installed on all PCs within the University. You can also access Panopto online via your Blackboard module area. There are several ways to use the Ladibug in Panopto, you can select the Ladibug as a standalone camera or you can record the main screen with the video feed from the Ladibug.
Further Resources:
- The Ulster Panopto Wiki outlines the different ways to use Panopto at Ulster University
- Panopto training is available via our Digital Skills Training events
- A full user guide can be found on the Ladibug website